Welcome to a comprehensive guide on how to effectively repair cracks in plaster walls. As someone who has spent years working with plaster walls, I understand the frustration that can arise from discovering cracks. In this article, I’ll share my expertise and personal experiences to help you address this issue with confidence.
| Takeaways |
| 1. Repairing cracks in plaster walls requires a combination of expertise, proper tools, and the right materials. |
| 2. Understanding the causes of cracks is essential to prevent them from reoccurring in the future. |
| 3. Assess the severity of cracks to determine whether they can be repaired as a DIY project or require professional intervention. |
| 4. Proper preparation of the wall surface, including cleaning and removing loose plaster, is crucial for a successful repair. |
| 5. Different types of cracks require different repair methods and materials. Hairline cracks, medium-sized cracks, and larger cracks each demand unique approaches. |
| 6. Applying primer before patching and using the appropriate finish coat contribute to a seamless and professional-looking repair. |
| 7. Regular maintenance and proactive measures can help prevent future cracks and ensure the longevity of your plaster walls. |
| 8. Additional resources are available online to deepen your understanding of plaster wall repair techniques. |
| 9. DIY repairs are feasible for minor cracks, but consulting professionals is recommended for extensive damage or structural issues. |
| 10. Transforming cracks into well-executed repairs can enhance the aesthetic appeal and value of your living space. |
Understanding Plaster Walls
Plaster walls are renowned for their timeless charm and durability. However, they are prone to cracks due to various factors. Before we dive into the repair process, let’s understand the nature of plaster walls and why cracks occur.
Transform your walls seamlessly with our guide on drywall patching. Learn essential tools and techniques for a flawless repair that stands the test of time.
Common Causes of Cracks
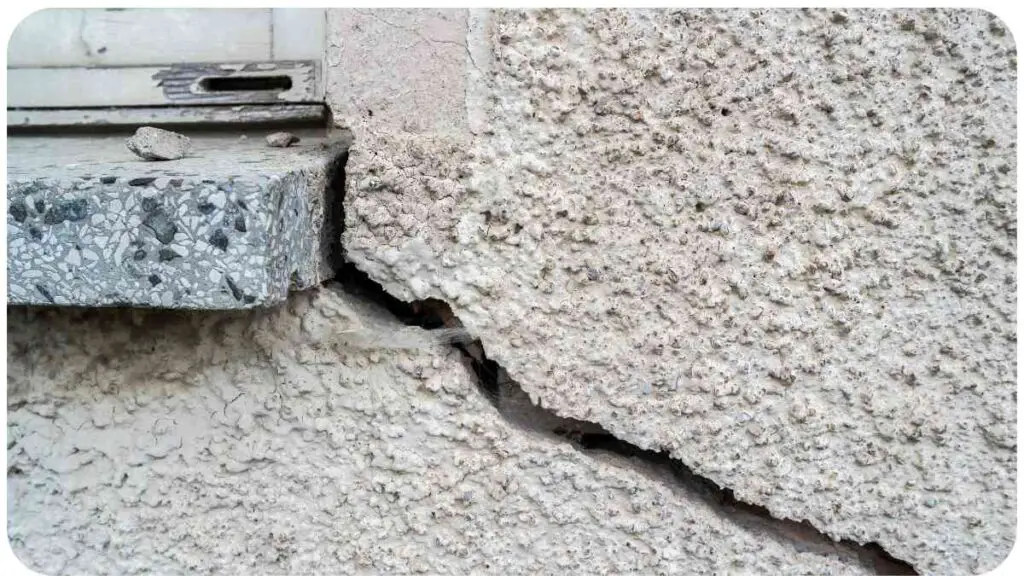
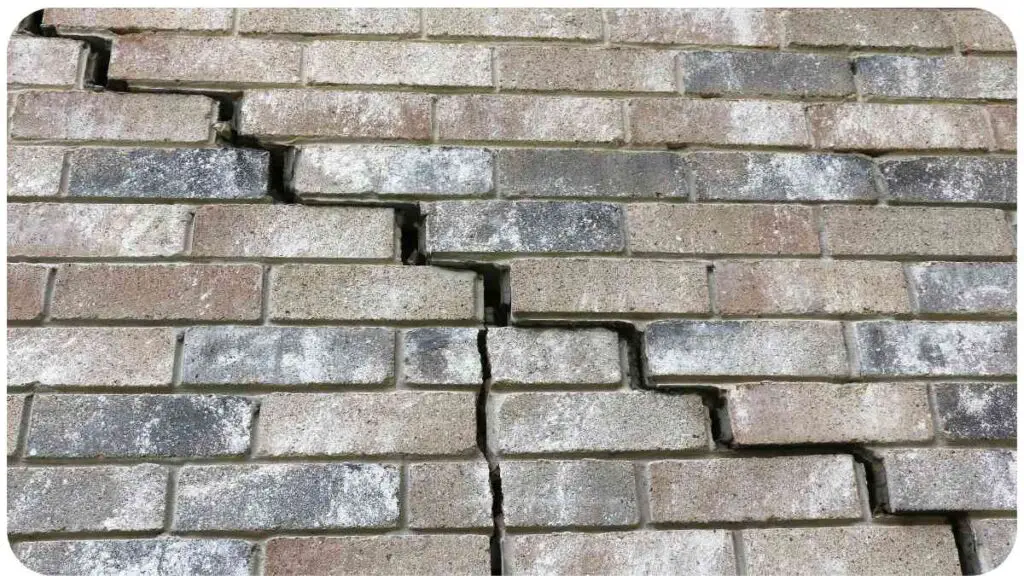
Cracks can emerge for a variety of reasons, including changes in temperature, settling of the building’s foundation, or even poor original construction. By identifying the underlying causes, you’ll be better equipped to prevent future cracks.
Tools and Materials You’ll Need
To get started, gather essential tools and materials. From basic plaster repair kits to specialized tools like trowels and sandpaper, having the right equipment ensures a smoother repair process.
Assessing the Severity of Cracks
Not all cracks are created equal. Some may be superficial, while others signal deeper structural issues. Learn how to assess crack severity to determine the appropriate repair approach.
Say goodbye to scratched floors! Explore quick and effective hardwood floor fixes that breathe new life into your space. Reclaim the beauty of your hardwood effortlessly.
Preparing the Wall Surface
Proper preparation sets the foundation for a successful repair. From cleaning the surface to chipping away loose plaster, I’ll guide you through the essential steps.
Filling Small Hairline Cracks
For those fine, hairline cracks, using the right products is crucial. Consult [Table 1] for recommended products that excel in filling these minor imperfections.
Repairing Medium-Sized Cracks
When dealing with medium-sized cracks, a more robust approach is necessary. In [Table 2], I’ve compared different plaster patching compounds to help you make an informed decision based on your specific needs.
Shield your walls from water damage woes. Discover proactive measures and effective water damage repair strategies. Keep your drywall resilient against potential water-related issues.
Dealing with Large Cracks and Structural Damage

Large cracks and structural damage demand immediate attention. I’ll share my insights on how to assess and address these significant issues, ensuring the long-term stability of your plaster walls.
Step-by-Step Repair Process
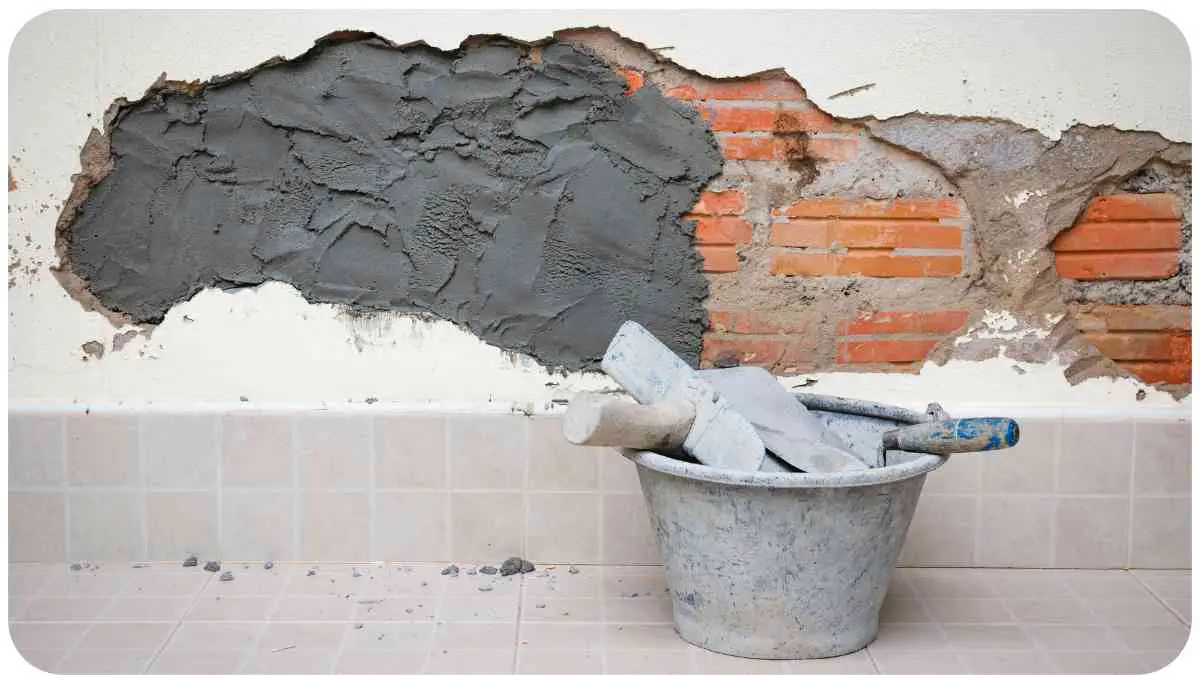
Let’s break down the repair process into manageable steps. From preparing the patching compound to applying it with precision, I’ll walk you through each stage to guarantee a professional-looking result.
Give corners a new lease on life! Learn the art of repairing damaged corners using DAP Spackling Paste. Say goodbye to unsightly corner damages with this expert guide.
Applying Primer and Base Coat
Before applying the patching compound, priming the wall is crucial for optimal adhesion. Explore [Table 3] for a list of highly recommended primers specifically designed for plaster walls.
Sanding and Smoothing the Surface
Achieving a seamless finish involves careful sanding and smoothing. I’ll share tips to ensure that your repaired wall blends flawlessly with the surrounding surface.
Adding the Finish Coat
The final coat is where your craftsmanship shines through. Choose the right type of plaster finish coat based on [Table 4], and I’ll guide you through the application process to achieve a polished result.
Maintain the integrity of your tiles effortlessly. Explore effective tips on addressing cracked grout between tiles. Preserve the aesthetics and durability of your tiled surfaces with our insightful guide.
Painting and Final Touches
With the cracks repaired and the finish coat applied, it’s time to add a fresh coat of paint. I’ll offer insights on color selection and techniques for a professional-looking paint job.
Preventing Future Cracks

Learn from my experiences and discover effective strategies to prevent future cracks. From monitoring humidity levels to addressing structural issues, these proactive measures can extend the lifespan of your plaster walls.
Conclusion
Repairing cracks in plaster walls might seem daunting, but armed with the right knowledge and tools, you can restore the beauty and integrity of your walls. Remember, my journey in mastering plaster wall repairs wasn’t without challenges, but the satisfaction of seeing smooth, crack-free surfaces makes it all worthwhile. With this guide and a little determination, you’re well on your way to becoming a proficient plaster wall repair enthusiast. Here’s to transforming those cracks into a testament of your expertise and dedication!
Further Reading
For more in-depth insights into repairing cracks in plaster walls, consider checking out the following resources:
- The Spruce – Repair Cracks in Plaster Walls: Explore step-by-step instructions and tips for repairing cracks in plaster walls. Learn about the different types of cracks and the techniques to address them effectively.
- Homes & Gardens – How to Fix Cracks in Plaster Walls: Discover expert advice on repairing plaster wall cracks while maintaining the aesthetics of your space. This resource provides insights into DIY solutions and professional techniques.
- This Old House – How to Fix Damaged Plaster: Delve into the art of restoring damaged plaster with comprehensive guides and tutorials. Learn about tools, materials, and techniques to revive your plaster walls to their former glory.
FAQs
How do I determine the severity of cracks in my plaster walls?
Assess the width, length, and depth of the crack. Hairline cracks are typically less concerning than larger, jagged cracks. If a crack continues to widen or shows signs of structural instability, it’s advisable to seek professional assistance.
Can I repair plaster wall cracks on my own?
Yes, you can repair minor cracks yourself using plaster patching compounds and appropriate tools. However, larger cracks or those indicating structural issues should be addressed by professionals to ensure the safety and stability of the wall.
What materials and tools do I need for plaster wall repair?
You’ll need plaster patching compound, trowels, sandpaper, a primer, paint, and tools for cleaning and chipping away loose plaster. Refer to the section on “Tools and Materials You’ll Need” in this guide for a comprehensive list.
Is priming necessary before applying patching compound?
Yes, priming is crucial to ensure proper adhesion of the patching compound. A good quality primer designed for plaster walls helps create a strong bond between the existing surface and the patching material.
How can I prevent future cracks in plaster walls?
To prevent future cracks, maintain stable humidity levels, address any structural issues, and avoid sudden temperature changes. Regularly inspect and maintain your plaster walls to catch any potential problems early on.

Hello, everyone! My name is Hellen James and I’m the founder of Unified Fix. I’ve been a home improvement enthusiast for years, so when we started this blog, I knew that it was important to me that we shared our knowledge with you.


